


Type 1 Segregation Box – Core Requirements & Design Rationale:
Why segregation devices exist?
WARNING: THIS BLOG IS INTENDED AS A GUIDE ONLY AND BY-NO-MEANS REPLACES THE AUSTRALIAN DANGEROUS GOODS GUIDE (ADGC).YOU MUST ALWAYS CONSULT THE LATEST OFFICIAL EDITION AND, WHERE NECESSARY, SEEK QUALIFIED PROFESSIONAL ADVICE, TO ENSURE FULL COMPLIANCE.
When you’re carting two products that mustn’t touch each other—for example a Class 3 flammable and a Class 5.1 oxidiser—the ADG Code gives you several ways to keep them apart.
One of the most flexible options is to place either product inside a segregation device that acts like a mini-safety-cell.
The Code recognises two road-and-rail only designs: Type I and Type II (there is also an “over-packing drum” and an underslung variant, but we’ll stay on Types I & II here).
Both details can be found in Chapter 6.11 of the Australian Dangerous Goods Guide (ADGC), yet they are built, tested and approved very differently.
Spot-the-difference – Type I vs Type II
| Feature | Type I | Type II |
|---|---|---|
| Capacity limit | ≤ 450 L (p. 999) | ≤ 3 000 L (p. 1000) |
| Testing requirement | None – no performance test mandated (p. 999) | Must pass bottom-lift, top-lift, stacking & drop tests to Large-Packaging standard (PG III drop height) (pp. 1000-1002) |
| Design approval | Built to prescriptive construction rules; no prior Competent-Authority sign-off required | Each design is type-approved by a Competent Authority; device is permanently marked with approval number, tare and max gross mass (p. 1002) |
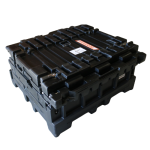
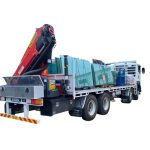
| Typical construction | • Rigid, liquid-tight box • Permanently hinged lid + two secure latches • Must be bolted or clamped to vehicle and not lifted while full (p. 999) | • Can be a purpose-built bin, tank, IBC, large packaging or even a small freight container, so long as it meets Section 6.11.4 rules (p. 1000) • 100 mm raised base, solid panels, fork-pocket/lift-points, stackable if designed for it |
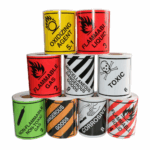
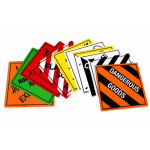
| Label size | Both types carry class labels, but must be 250 mm-square (larger than normal package labels) (p. 725) | |
| Who decides what can go in it? | The Code itself (no per-device restrictions) | CA may restrict a device to certain classes or products when it issues the approval (p. 1000) |
What can you pack inside? – Classes & Packing Groups
Packing group rules
Segregation devices are only authorised for dangerous goods that carry Packing Group II or III. That applies to both Type I and Type II devices – the rule sits outside Chapter 6 in the operational section:
“Dangerous goods of packing group II or III may be segregated from incompatible goods by packing … in a segregation device … Type I or Type II.” – Section 4.4.5.1.3 (p. 711)
The same wording is repeated in Section 9.2.2.6, which lists devices alongside other segregation methods (p. 1030).
Packing Group I is not permitted. If you have PG I product you’ll need an “Approved Packaging for Segregation” (triply-contained) under Section 9.2.2.4 instead.
Class compatibility
The Code does not nominate specific classes for Type I or Type II. Instead, any class that has PG II or III may use a device—provided the usual incompatibility table is respected. Typical examples:
| Class | Examples that often ship PG II/III |
|---|---|
| 3 – Flammable Liquids | Diesel (PG III), xylene (PG III) |
| 4.1 – Flammable Solids | Camphor (PG III) |
| 4.2 – Spontaneously Combustible | Aluminium phosphide (PG II) |
| 4.3 – Dangerous When Wet | Calcium carbide (PG II) |
| 5.1 – Oxidising | Calcium hypochlorite (PG II) |
| 6.1 – Toxic | Phenol (PG II) |
| 8 – Corrosive | Caustic soda solution (PG II) |
| 9 – Miscellaneous | Lithium-ion batteries contained in equipment (some entries PG II/III) |
Classes 2 (gases) and 5.2 (organic peroxides) have no packing-group system, so segregation devices are not a compliance pathway for those goods.
Choosing the right device on the day
- Volume of product
Up to 450 L → Type I is simpler and faster.
450-3 000 L → Type II or another segregation method. - Operational handling
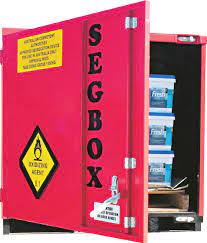
- Type I stays bolted to the deck – great for toolbox-style lockers.
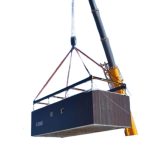
- Type II can be craned or forked off full, stacked or folded for back-loading.
- Regulatory paperwork
- Type I: record the device on your load plan and apply 250 mm labels.
- Type II: carry the CA approval in the vehicle file and ensure the rating plate matches the actual load mass.
Practical tips for fleets & drivers
- Load restraint: Both types must be secured so they can’t move under 0.8 g forward / 0.5 g lateral / 0.5 g vertical—the same as any other DG package.
- Don’t mix incompatibles inside the box. Section 9.2.1.4 forbids it. One device = one compatibility group.
- Clean-out matters: The “smooth, easy-to-clean” interior rule for Type I (Section 6.11.3.4, p. 999) exists so residues from yesterday’s oxidiser load don’t start a barbeque when today’s flammables leak.
- Label size catches many operators. Standard 100 mm diamonds are too small; use the 250 mm versions called up in Section 5.2.2.1.14 (p. 725).
- Keep the approval current. A Type II design can lose its approval if modified without re-testing (Section 6.11.5.5, p. 1001).
Key take-aways
- Type I = locker-style, ≤ 450 L, no formal testing, permanently fixed.
- Type II = mini-container up to 3 000 L, must be type-approved and tested like a Large Packaging.
- Both are only for PG II & III goods; PG I needs more robust triple-packaging.
- Any class with PG II/III can use them, but the Competent Authority may limit a Type II to certain classes or products in its approval.
Understanding which device to deploy—and why—keeps incompatible loads apart, inspectors happy, and, most importantly, your people and the public safe.
Products
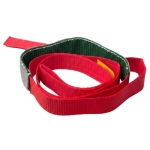
Wheel Clamp Replacement Strap – 3m x 50mm x 1750kg
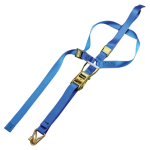
Wheel Harness Ratchet Tie Down – 1.5m x 50mm x 550kg

Wheel Clamp Replacement Strap – 2.6m x 50mm x 2500kg (200mm Loop)

250mm x 250mm Dangerous Goods Labels – Limited Quantity Classes
$0.75 - $1.00$0.75 - $1.00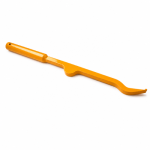
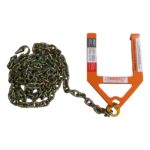
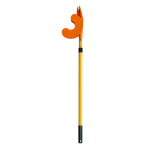
Shoring Bar Removal Tool – 370mm
Peaked Curved Angle
$15.00 ex GST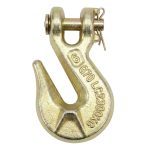
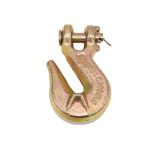
G70 Grab Hook 6mm – Clevis
$4.50 ex GST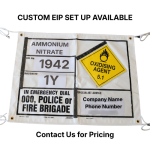
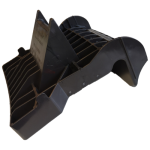
Strap Launcher
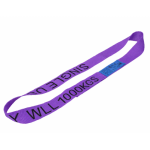
Round Single Use Sling 1T x 1.5m
$8.50 ex GST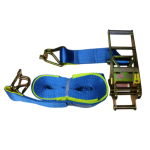

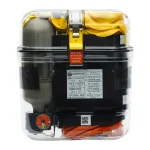
Dangerous Goods Segregation Box – Type II
$3,720.40 ex GST
Mini Container Bolt Seal (Domestic Use)
$0.66 ex GST